What's been happening at The Period Ironmonger?
Hello everyone
Well, a lot has been happening here at The Period Ironmonger, since we last posted a few years ago now.
Firstly, Tom & Kotti made the huge decision to take time out for themselves and retired from The Period Ironmonger. But, not before finding two like minded people to take over the helm and ensure that The Period Ironmonger continued providing great products for all those renovating and rebuilding their homes.
So in 2014 we (Richard & Jayne) worked alongside Kotti to learn the ropes and take over the business. We relocated the offices a short way and are now located right on the borders of Shropshire, Staffordshire and Cheshire!
We have kept The Period Ironmonger a small family run business, so that we can be sure that we provide everyone with the best, personal service we can. Helping people with their individual needs, when it comes to sourcing and choosing the right ironmongery, has always been the key focus for The Period Ironmonger and we work hard to make sure we are continuing in Tom & Kotti's footsteps with this ethos.
A New Look as we Move Forward
Now we feel completely settled in the business we have started to make a few changes to help us move forward.
Our website has had a makeover! We have made some improvements to the website to make it easier to navigate, provide better quality images and respond better to mobile devices - although I would say trying to view ironmongery on a phone is always tricky!
Please visit us at www.theperiodironmonger.co.uk and see what you think - if you have time to give us feedback that would be great too.
We are also trying to keep everyone up to date through social media, so if you want to you can follow us on:
- Facebook - click here
- Twitter - click here
- Instagram - click here
- Pinterest - click here
Finally, we are adding new ranges of products to our website. We have been working closely with our existing suppliers and also sourcing new ones to bring you a wider choice of styles and finishes. Take a look at some of them here:
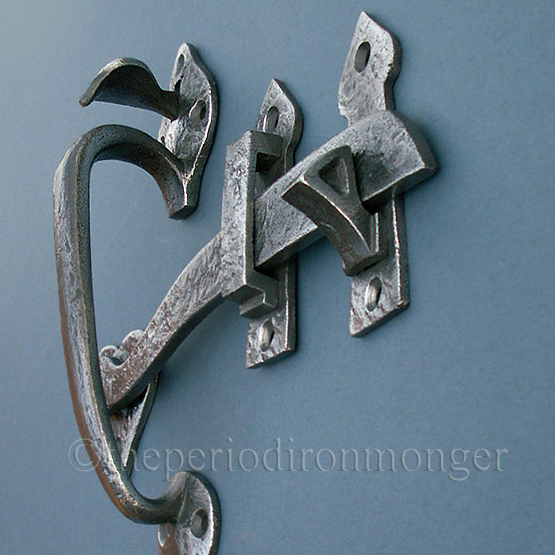
Constable Range

available in Standard and Large Sizes
 This grand Constable Centre Door Pull comes in 3 sizes
- Small
- Standard
- Extra Large
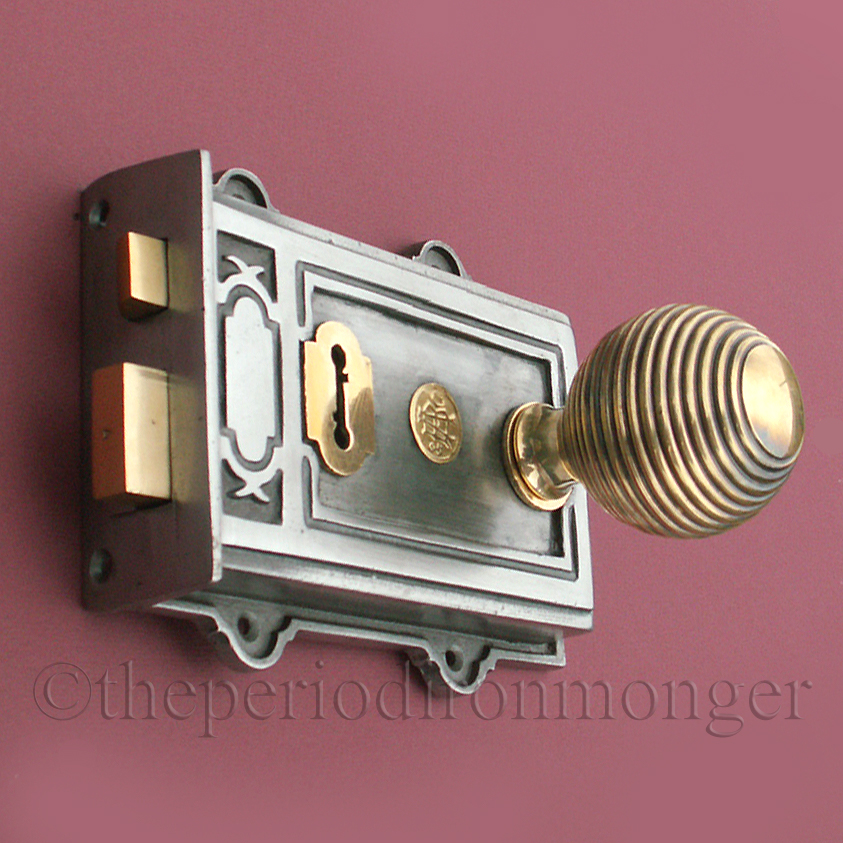
Regency Reeded Range

Also available in Polished Chrome, Polished Nickel and Aged Bronze

Stunning Aged Bronze Reeded Lever Handles
Also available in Aged Brass and Polished Nickel

Matching Casement Fastener and Stay available
Other finishes - Polished Nickel and Aged Brass

Also available in Aged Brass
Authentic Period Reproductions

A traditional Aged Brass Foley Bell Push
Based on a Victorian design
Also available in Polished Nickel

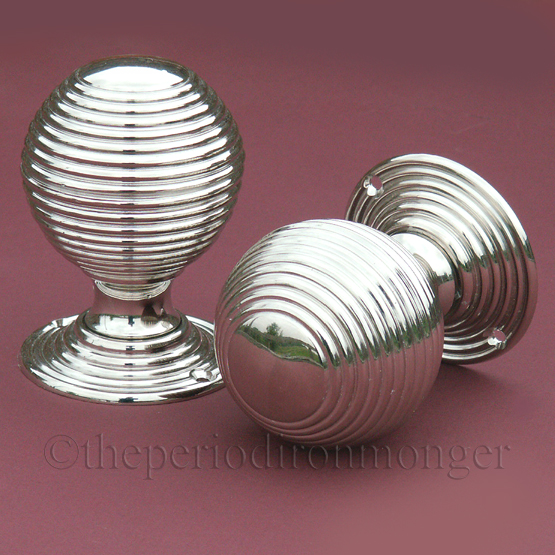
Stunning Polished Nickel Burcot Door Knobs
Based on a Regency design
Also available in Polished Brass Unlacquered
Flush Door Fittings
We have a wide range of Flush Door Fittings that are handcrafted in the UK and available in a wide range of Brass, Chrome, Nickel and Bronze finishes. Here is just one example of these beautiful pieces.
A neat Circular Flush Handle
Please do visit our website and take a look at the beautiful door and window furniture we have available. Our site contains our most popular products and new additions - if you can't find what you are looking for, please do call us as we have access to a much wider range of products.